menu   Home Book Trailers The Goods Tools About Me  

Search This Blog

Showing posts with label writing. Show all posts

The Matchbox Diary

The Matchbox Diary

A writer’s toughest task isn’t finding an idea but figuring out what to do with it


The Matchbox Diary written by Paul Fleishman is an an incredible book that can be used within the classroom as a launching point for narratives, immigration, definition of literacy, American history, industry, etc.  I used this book for a Summer writing camp and in a 2nd grade classroom.  I am sharing my lesson plan outline that I use while teaching. 


Materials:
·         Sharpened pencils
·         Mechanical Pencils
·         Clipboards
·         Paper
o   Lined
o   Handwriting
o   Final copy
o   Black cardstock- to mount art
o   White thick paper- for art
·         Post-it notes
·         Plastic Sleeves--- to be used for editing if don't don't want to use post-its
·         Dry erase markers-- "
·         Socks (to use as eraser)-- "
·         Sensory word list- From Jeff Anderson book
·         Chart Paper
·         Markers
·         Cigar Box with items in matchboxes it that I can tell stories about  (i.e. seashells, bottlecap, key, dried flower, ticket stub, ring, marbles, (non-item like a paper clip)etc.)
·         Oil Pastels or watercolor
·         Painter’s Tape
·         Report covers

Before--- students bring in 5 items that have memories.  I sent this note as apart of their homework:

Special Assignment!  
We will begin writing narratives in class  for the next few weeks.  Writer’s write about what they know.  As a writer, please bring in 5 small items that trigger a memory or something important that has happened in your life.  Bring items such as a small seashell, concert ticket, bracelet, pin, medal, coin, etc.  All of these items should fit in the attached plastic bag.
Please bring your 5 items Monday.  


Day 1:  Brainstorm, First Draft

Bring in personal Cigar Box, set it and book on the table.

On a chart paper-- write LITERACY 

Ask class what it is to them.  discuss in groups-- ask the following questions as necessary.
Literacy—what does it mean?  What does it look like? How do you engage in literacy? Does being literate really only mean creating meaning from the symbols known as alphabetic letters and characters? What about reading symbols or visual images that are logos or are in advertisements? What about reading wordless picture books? Most of all, who gets to define what literacy is or isn't? 

The field of literacy has actually been pushing for quite some time against traditional definitions that are limited to reading and writing, but what do your students think? Create sticky notes on chart paper. Talk about responses and emphasize that literacy is to CONNECT through writing, stories, and pictures.  

Background Info---historic information about immigration, Ellis Island, America in the early 1920’s, or Italy, the great-grandfather’s country of origin.  Ask students what they know about Ellis Island, show a picture of the statue of liberty.  Talk briefly about what it means to be an immigrant.  Discuss some of the reasons people have for leaving their homeland, sometimes in the face of danger, to live in a new country. 

Ask who keeps a diary or a journal.  Why do they keep one?  What's in their journals?  Is it just words? What's the importance or value of a journal/diary?
  
Begin reading about half of the book, then paused to do a quick review—What object did the girl choose to have her great-grandfather tell her about? What was inside the cigar box? Why did great-grandfather keep his diary in matchboxes and not written in a book? What was in the first box she opened? What is the story of the olive pit?—before finishing the book.

Open my box, pass out boxes and let the kids open them.  Begin telling story of 1 or 2.  Then get to the paperclip
The object in box is my paperclip. I use paperclips all the time. They are really useful. I use this one to hold papers together.
Wait for reactions.  Clearly not a story.  So I ask  group what more they wanted to know—perhaps if they asked me some questions, I might find the paperclip’s story. Where did you get it? What makes it special? How long have you had it?

Reach for another box.  Begin telling the story.  What else do they want to know- what does my story need to feel complete? Being making a list of what a story must entail. 

In groups of 2-4 have students share items in their boxes.  Ask them and their groups to decide which item has a story they want to tell the most.
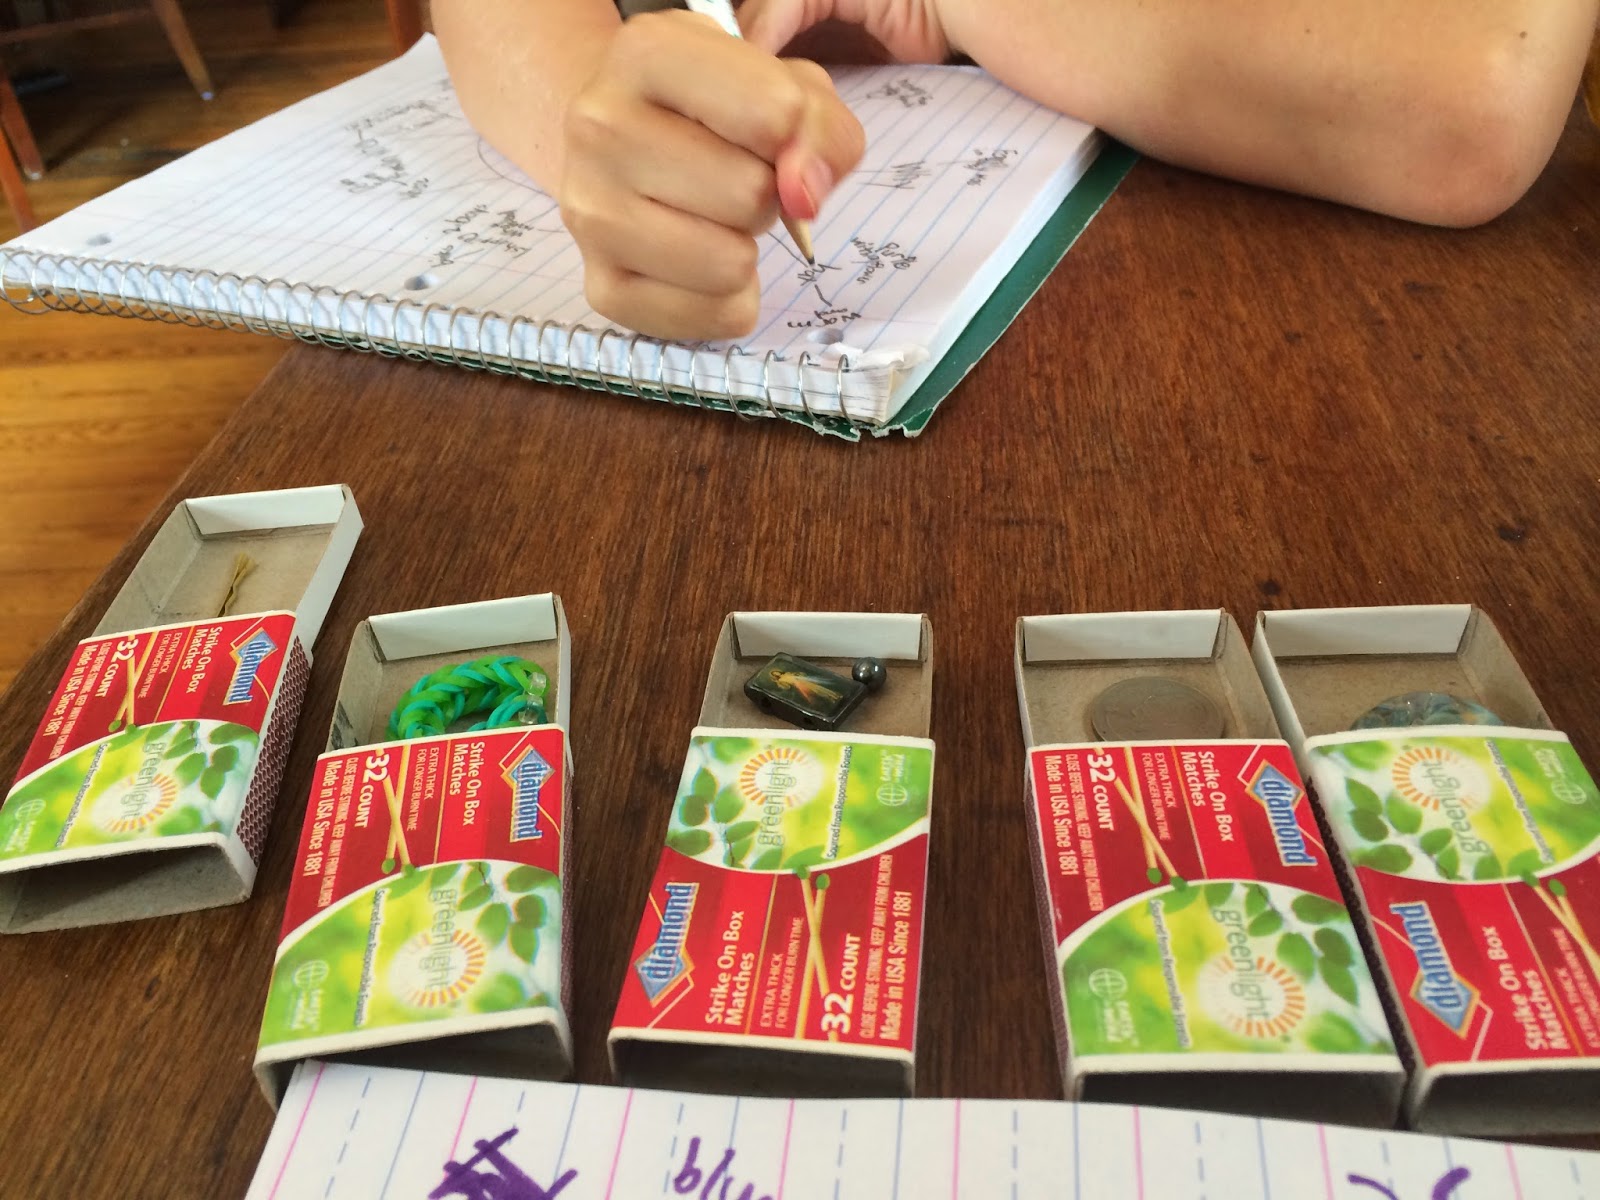
Close by sharing what item they think they will share about and what memory it holds.  

Day 2: First Draft/Graphic Organizer 

Read Wilfred Gordon by Mem Fox

What brought about the memories?  Did they have to have words?  

Model writing your first draft with one of your items.  Talk aloud using a bubble map to retrieve all of the important details-- Where was I? Who was I with? What were we doing?  Why? What happened? How did I feel? 

Give students to brainstorm about their item in their writing notebooks.

Take a picture of them with their item in their hands.

Closing:  Share about how using the graphic organizer helped with their memory.  How did they sort it?  What helped organize their thoughts or get the most detail?

              
Day 3: First Draft Writing

Read Art & Max
--- What happened to the characters? -- emphasize that you can change the form, add details, mix things up, and still have your original idea.  Sometimes starting again or looking things from a different perspective creates something better.  

Share with them my story
The Moose Story
                  i was walkin.  I was walking by myself.  It was late at nite.  I had to go to the bathroom. I got on my bik.  It was foggy. I saw a baby moose.  I heard a loud noise behind me.  A moose was running to me.  I was scared.  I looked for help.  i kept riding.  I went through the forest.  I fell.  I stayed there until she left.  I rode back fast!

Write suggestions on chart paper.  This becomes our checklist of features to include in our writing.
Details, sentence variety, figurative language, capital letters, punctuation, opening sentence, closing sentence, spelling, voice/point of view, transition words, adjectives

Review dialogue marks.  Pass out sensory words sheet for descriptive words. (can find online if don't have Jeff Anderson book)  

Model writing my own story with an item from my box in front of them.  Think out loud and look to my graphic organizer for details.  

Give students time to write their story.  Share with a friend what they have written so far.  


Day 4:  Finish First Draft/Revisions
Read Chester    Emphasize that the writer has the power!  Whoever has the pen decides what happens.  There's power in what they write.  When we share writing we want it to be whole and complete and that sometimes another set of eyes can help strengthen us. Re-read the moose story from the day before--- ask them to give me a strength--- something I did well.  Then, a teaching point--- something to work on.  Show them how to write this on a sticky note-- star for strength, circle for teaching point.  

Give students time to finish first drafts.  When they are ready meet with a friend and on a sticky note write strength and teaching points.  Students can also put their writing in clear plastic sheet protectors to give additional specific editing marks.  I like using the sheet protectors so that it doesn't mess up the authors writing or distract-- or on the off chance the edits aren't right.  :)  

Revise on that paper or start a 2nd draft.
                                       
Day 5:  Revisions and Editing

Read "Little Red Riding" ---finish reading/editing with 2 friends.  
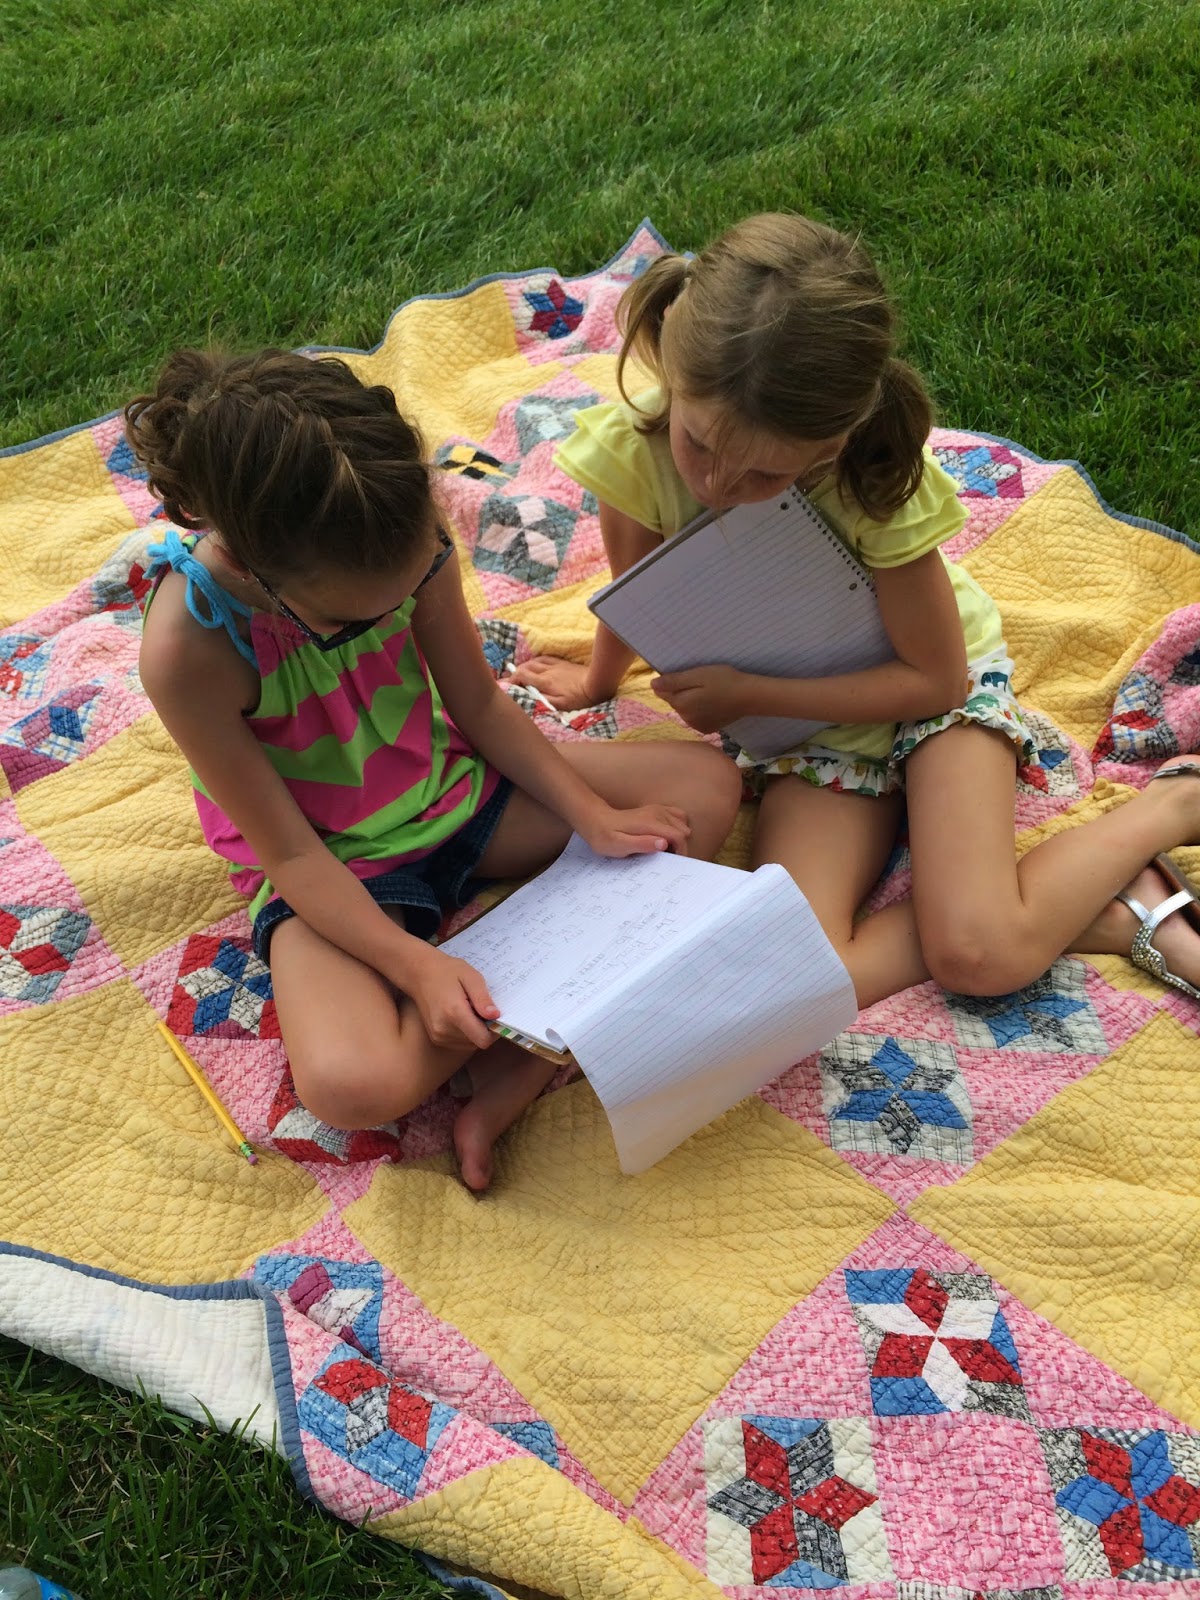
As students finish their revision they meet with teacher to conference and revise.   Pass out final draft paper as they finish with drafts.  Give mechanical pencils.  

Day 6: Finish final drafts and create art piece to go with it.
Read The Secret Box


Teacher models sketch and art of item or memory.

Sketch out ideas of item on post it- or small piece of paper.  Approve with me and then give oil pastels or watercolors and small squares to draw. Put in report covers, bind, etc.


In my 2nd Grade Class I had them paint with watercolor and I introduced strategies for using the paint.  They were really easy and turned out amazing.  We matted them on place pieces of paper and hung them in the hall above their writing.  


Share and celebrate!!!

Dead Words Day

My 2nd grade students are really starting to take off with their writing!  The biggest part of craft is using wisdom in word choice-- but often students (and us) choose words that we're comfortable or we just don't know what our options are or take the time to think about them. So to be more intentional about words we had a Dead Words Day, to put the common words to rest and rise up with more interesting words.  Anything to get the students engaged! Let me start off my saying… this by no means is my idea.  I remember doing something like this in grade school and have seen idea on numerous blogs. 


Prior to students coming to class I have them wear all black.  Since I did this on Halloween they assume something is up and get all the more excited.  I made necklaces with words that had the dead words on them.  I had signs around the room that said "The Dead Word Zone" and caution tape on the door.  I copied tombstones onto gray construction for students to add the resurrected words on.  

                                      
I start the day telling them how proud I am of them as writers and explain that as we continue to mature we have to lay to rest what we did when we were just starting writing so that stronger and more powerful writing can emerge. I emphasize that as writers they have the power and to engage readers they need to keep them captivated using strong words. I explain that today we are going to have a memorial for the beloved words we have used so much so that we can resurrect new words into our vocabulary. I then pass out the necklaces and tell each child they are responsible for the memory and new life of that word. Throughout the day they think of words that could replace it. Depending on time and maturity they could do a word hunt in their books, use a thesaurus, etc. 

During literacy I pass out the tombstones and using the words they've collected and/or the resurrected words I've included to create a tombstone for that word. 

I gather students into a circle on the carpet to grieve the word we lost and celebrate what will rise up. Students read the epitaph- after they say the word that we are laying to rest- the rest of the class repeats that word. (reader) “Here lies ‘said’” (whole class) “said” (reader continues on) they drop the word into the bucket and place a flower into in. Depending on weather you could also do this outside and bury the words! 

Throughout the activities you could play “The Twilight Zone” or “The Undertaker” theme song... Along with the classics like “Thriller” After we complete the funeral service, students receive a small tombstone to write their word on it and a new sentence using the resurrected words. We hung those on a bulletin board and below I use the tombstones to create a new word wall so that we can add new words all year to it. I leave a marker so that students can add new words all year-- and boy will they call you out if you use them!  I went to the local craft store to make the tombstones look like a cemetery.  


Here are all of the materials I use in my class

                                              Dead Words Day


The End of Days and into a Good Time!

I apologize... but don't really mean it for the length and lovely information you are getting in this stellar post. :) 

All year we have been gathering pieces for their writing portfolios.  I didn't have students put in every piece of writing they did, rather they chose what pieces they liked and showed their growth. I had students reflect upon their growth using this form and then put it near the beginning of their portfolio.  It is so powerful for them to reflect and put academic vocabulary to their growth.

We created 3 anchor charts
1.  At the beginning of the year...... I did/did not...
2.  Now at the end of the year I....
3. In the future I would like to....

Writing Portfolio Reflection- FREEBIE


For the cover of their portfolios I cut out 4x6 watercolor paper.  I like using watercolor paper because it does not pill or get misshapen like other thicker papers do.  It also allows the water to not run as much.

I taped around the edges on the desk using my favorite froggie green painters tape to make a frame.  I then gave students masking tape attached to a piece of wax paper with the bottom of the tape hanging off of it.  They chose 1 simple shape that reflected them---sun, heart, star, initials, sport, etc. drew it and cut it off.  Having the tape on the wax paper allowed me to do it whole group and also made it so that they didn't ruin their design because the tape was sticking to their scissors, desks, hair, faces, somebody else, etc. etc. etc. :) 

On my back table I let them use "fancy watercolors" from the tube.  Whole group I showed them different strategies to use--- wet, dry, salt, saran wrap, etc.  It is amazing the textures you can get really easily. 

salt


rubbing alcohol


 plastic wrap


With me we taped their paper down, cut out their shape, and I let them begin to paint.  I thought this was going to be an absolute disaster and chaos... and it couldn't have worked better.  One of the 1st grade teachers is a professional artist and when I told her what I was going to let 7-8 year olds do she thought I was mental (which is partially true).  When I told them that "Mrs. Moore thinks I am crazy for letting 2nd graders use fancy water color and no lines" it fueled them to be that more intentional.  I didn't have a single student need to redo one--- which is nothing short of a diving miracle. After their first coat dried, we peeled back their cut out and painted inside of that. 

I was blown away at what these little artists produced. Start to finish it took about 2 hours to finish everybody with 3 working one the table at a time.

They signed their names in the corners like an artist and then we mounted them on black construction paper.  These became the covers of their portfolios.  I bought clear plastic covers from office depot.  Originally we were going to do binders, but there is something about having it bound together that just finishes it off (though binding them about finished me:)).
On the last day of school they collected them with their parents along with a little goody bag that had a summer review pack, sunglasses, and a sweet treat in them.  I also included all of the book trailers they had made throughout the year into the portfolio as well as a copy of our year end video.


Also, during the last week, I had the students write letters to the upcoming 2nd graders.  These letters will be placed on their desks on the first day of school.  As a class, we made a huge graphic organizer of all they had learned throughout the year- academic, social, technology, fun activities, etc.

From there we brainstormed some sentence starters and I wrote an example in front of them.  They wrote rough drafts, editing with a peer, and then me.  They then taped a pencil to the top of the paper and wrote a little note.

2nd Grade Rocks! Freebie


We even created one last book trailer as a class from our read aloud...The Invention of Hugo Cabret


It is amazing how fast a school year can fly.  I am so fortunate to work with the group of kids, parents, and teachers.  My parents even made me moose cupcakes and painted my new reader's theater a mustard yellow :)

 I miss my kids dearly... but I am glad to be on vacation!!! I am taking the next month to be out West--- hike, bike, chill, and eat.

Here is a video I captured the other day at Hanging Lake in Glenwood Springs, Colorado.  It is crazy how clear the water is


 Top of the Colorado Rockies--- we got thirsty and would fill up our water bottles straight from water coming out of the mountains.


Handsy

I've had a crazy few weeks-- hence the delay in posting.  I finished my graduate degree in Literacy, ran my first 1/2 marathon, and turned the ripe age of 27  :)


It's no secret for those that know me-- the hands are my favorite part of a body-especially those that are capable! :)  Hands are used for so many things- strength, comfort, building, creating, writing, holding, etc. etc. etc.

In science we study soil (post to come shortly :))and the plant cycle.  To make it fun and scientific we grew a garden in a glove.

I chose plants that would germinate quickly- green beans, basil, marigold, nasturtium, and watermelon.  
I got the plastic gloves from cafeteria workers and had students write the name of each plant on each finger with a sharpie.

In small groups they got a cotton ball wet, and squeezed it out three times.  I had each seeds on pieces of paper with the amount of how many seeds to get written on each.  They picked seeds up with cotton balls and then placed them in their gloves using pencils to guide them.  Once they finished we gave a puff of air in each and sealed them with a pipe cleaner.  We taped our mini greenhouses on the window and took daily observations in our science notebooks.  Within 3-5 days almost every seed sprouted!!! 

Now--- this is where things got a little mental.  I gave students labels and had them write their names with each plant on it and put it on a plastic cup.  We filled the cups with potting soil, created a little hole, and then cut the fingers on our gloves and dropped the cotton ball into our soil, covered them up, and gave them a little water. 
We left them over the weekend and by the time we came back on Monday the majority had sprouted and many had grown taller than the cup!!!
2 weeks later and this is what we have!  I am totally amazed--- I normally look at a plant and it dies. 

For more information check out


In writing I had students trace their hands and write things that they had done and what they wanted to do.  These could start as story starters for memoirs, small moments, reflections, etc.  


Students then took each finger and began to write a paragraph about each.  We focused on topic sentence, details-- some story or what they have done, how it makes them feel, and a closing sentence.  They write each idea on a separate piece of paper that has space for revisions- with each paper turning into a paragraph.


 When revising they read it with whisper phones to themselves, underline any words they aren't sure how to spell, then revise with friends with skinny makers, and finally with me before they get to their final copy.  These are turning out to be very sweet and powerful.


I took pictures of them out on the playground playing their favorite activity and had them printed to be mounted next to their writing--- it will also go perfectly into their end of year writing portfolios.  

I am starting to be in denial and choking up really quickly when thinking about separating from these sweet things!